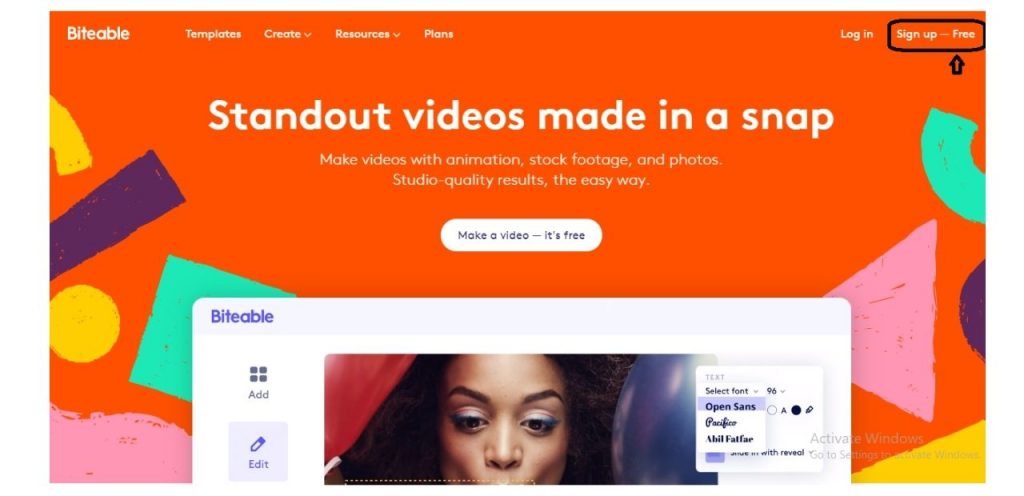
Biteable is a useful video-making tool that markets itself as a one-stop shop to create outstanding videos using the available video and image templates. It is designed to help marketers, agencies, and entrepreneurs create effective presentations, advertising, commercial, and campaign video in minutes! It's super simple to get started, all you have to do is log on to www.biteable.com, and click on signup-free
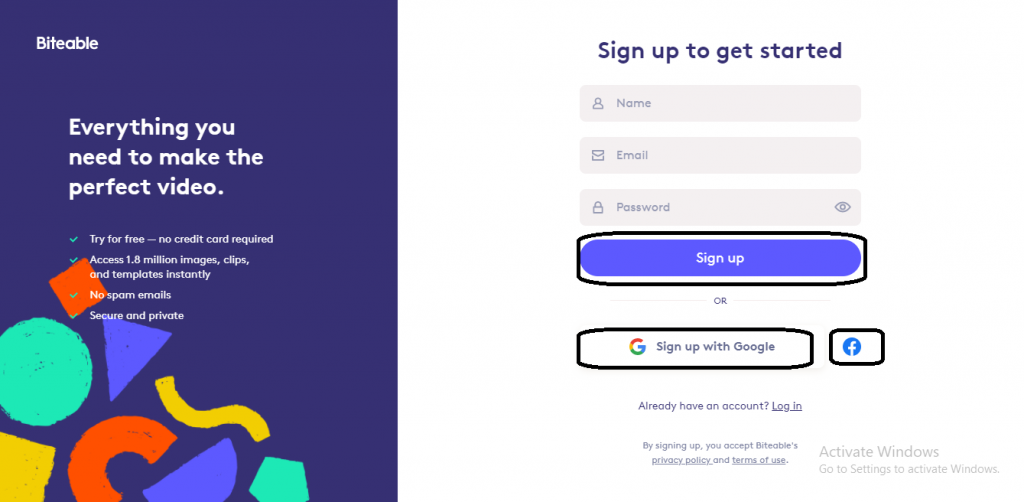
You are then directed to the signup page where you can either sign up with your name, email id, and password or via your Google or Facebook account.
Once you sign up, a dashboard appears where you can find a menu tab with options Templates, My videos, Start with an empty video. Let’s start by explaining the options individually.
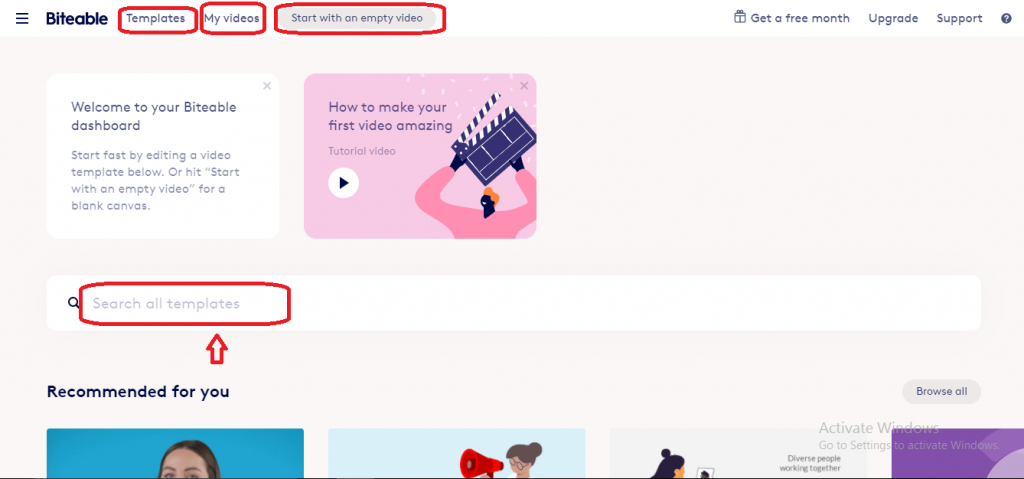
The Templates tab offers the editor many different video templates to choose from like animation, presentations, business promos, ads. You can also use the search option on the page to choose a template that is best suited for your project. Moving on to the next tab which is the My Video tab where you will have all your videos saved that are either ‘In progress’ or ‘completed’ that you have created which makes it easier for you to refer back at any given point. The Start with an empty video option allows you to select your preferred video resolution giving you the freedom to adapt your video to any format that you wish.
![]()
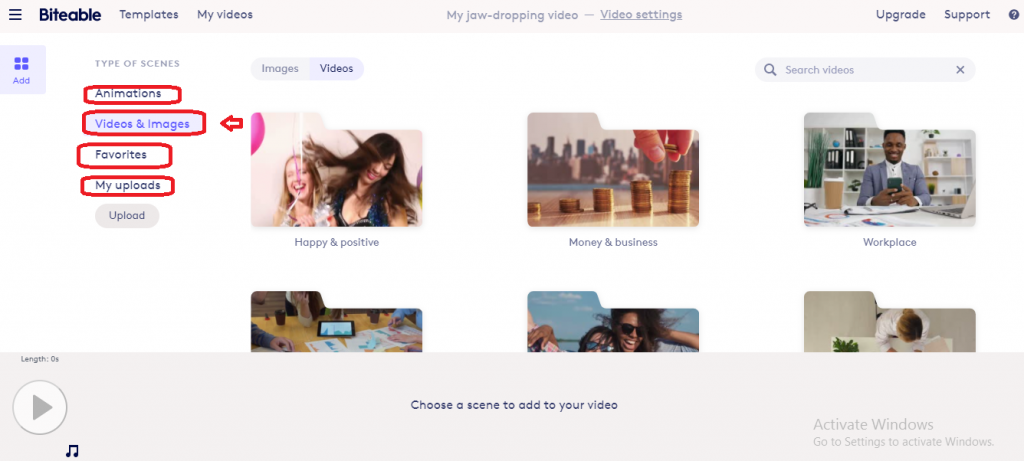
Once you have made your choice of the video resolution, you are directed to a page with varied options in Animations, Videos & Images which you can then add to Favourite and Uploads which will feature in your videos.
For a better understanding, we will opt for searching our preferred image /video using the Search option on the page. Let’s say our video is based on “Learn From Home”, once you type that in, the page displays over 100 search results which give you the best chance to pick the right image/video for your project. Once the selection is done, the Edit Video button offers further editing options like adding captions to video, adding the Logo, and even Audio.
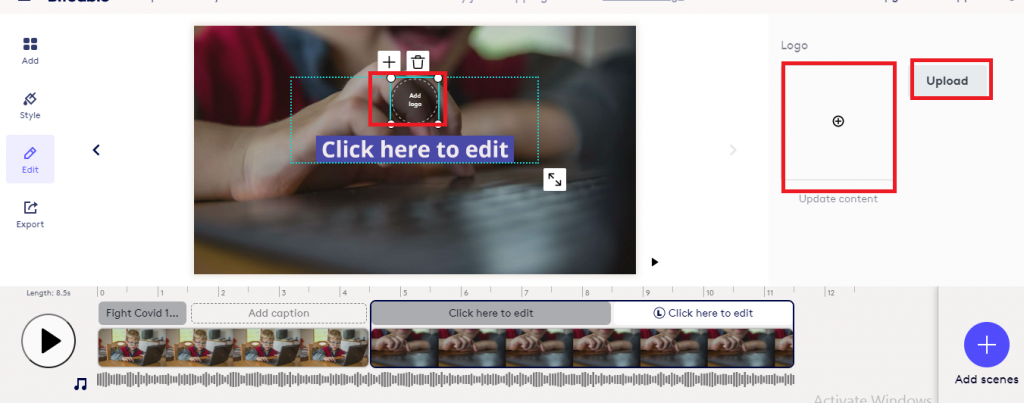
To ensure that you create an attractive, eyeball-grabbing video, the app offers an array of tools to play around with and explore. The first step will be to add a caption to the video by clicking on the three dots just above the video or image. You will notice that you have the option to add a caption, add a logo, delete or duplicate the caption.

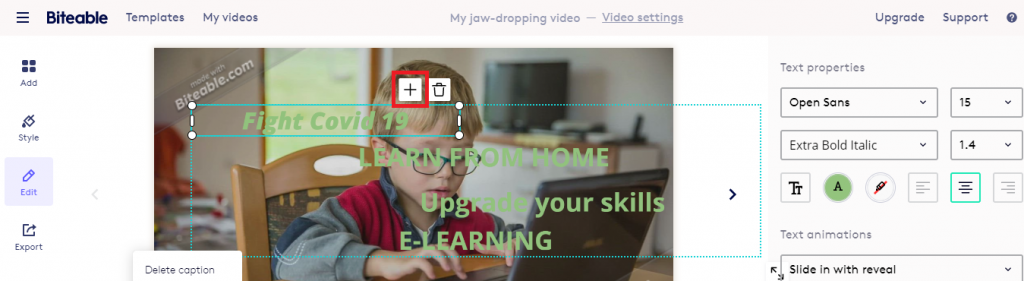
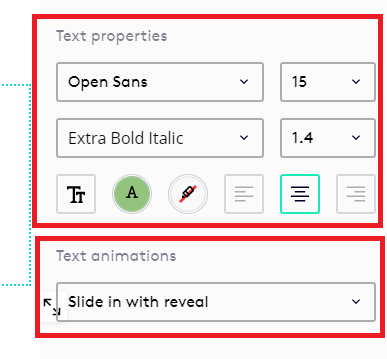
Additionally, on the right side of the page, you will see options to edit Text Properties like Text styling, Font size, Bold, Line Height, Text color, Background color, Alignment, and add animated effects for the text.
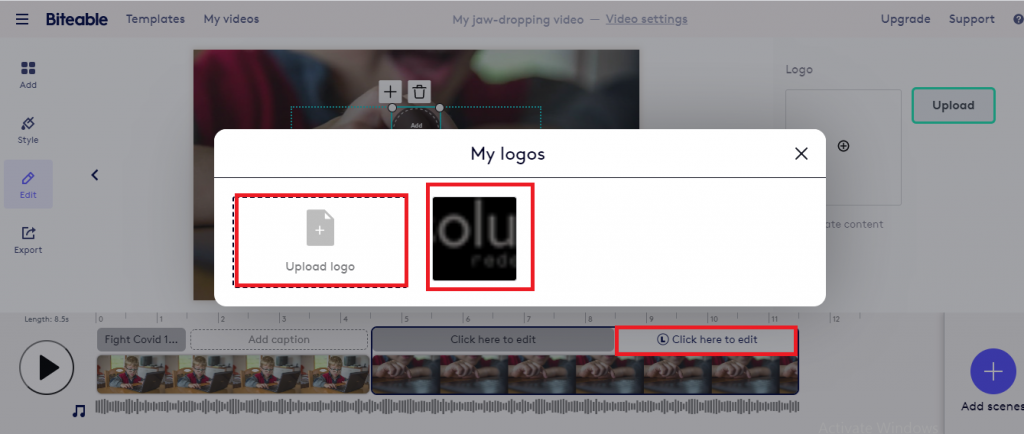
To add the Logo for the video, all you have to do is click on the three dots just above the video or image scene. This will provide you the option to Add Logo and Add Text inside the video editor. When you Double click the Add Logo inside the video editor, you will notice the option to upload the logo on your right-hand side. Click the upload button and you can either upload the logo from a local drive or choose from an already existing logo.
After choosing Logo you can find Logo properties on the right side of the video editor and click Upload to insert your logo.
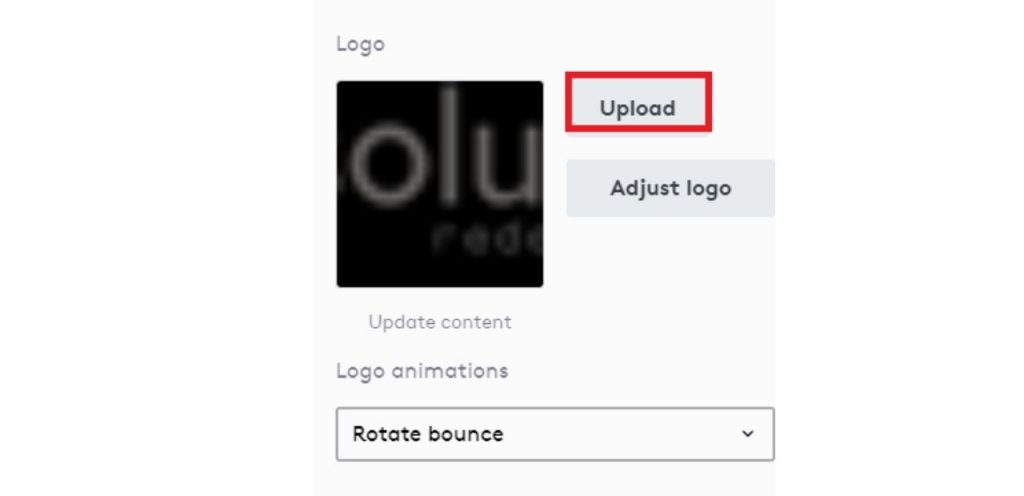
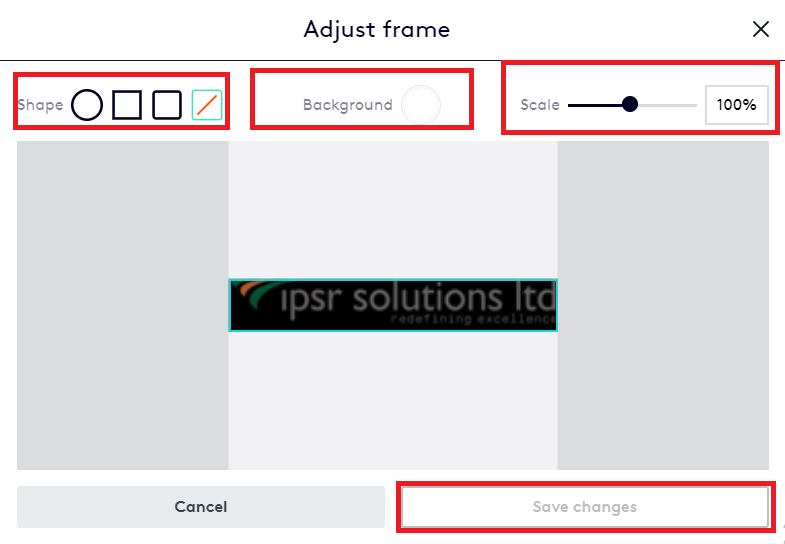
If you wish to make changes to the logo, click the Adjust logo for adjusting the scale, background color of the logo, and bring animations for the logo. After making the changes don't forget to click on save changes.
What video is complete without some music and this app lets you add background music to your videos making it much more appealing for the viewers. In order to add Audio to the video, you can click on the music logo in the form of a music notification just below the video scene.

You can either choose audio from the biteable library or else you have the option to upload your own audio from a local drive giving you the freedom of creativity. Once the selection is made, you can save the changes.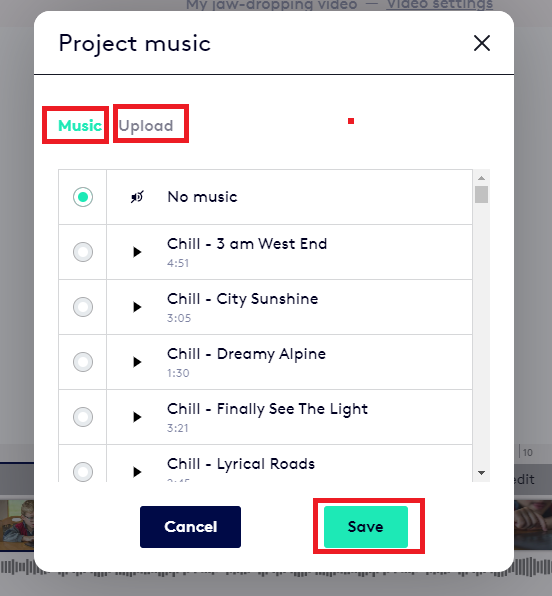
To add more scenes for the video, you can click the Add scene option on the right- bottom side of the page or the top-left option to Add. You are yet again spoilt for choice where you can either add from the biteable video library or upload video from the local drive. You have complete control over how you wish to create the end result and you can also Replace background, Trim video, video scale adjust, background color, and filter color for the video just by double-clicking on the video window. You will notice some options on the left side of the page, which further help you enhance your video. The first option is Add which as explained earlier as well helps you add additional scenes - videos/images to the file you are working on and help navigate through the video template library. The Style option will help you explore options like text style, text color, ribbon color, background color. The third option which is the Edit option will direct you to the video editor where you can add caption, logo, audio, and video scene. Finally by clicking on the Export option. you can copy links, share, preview, and download videos.
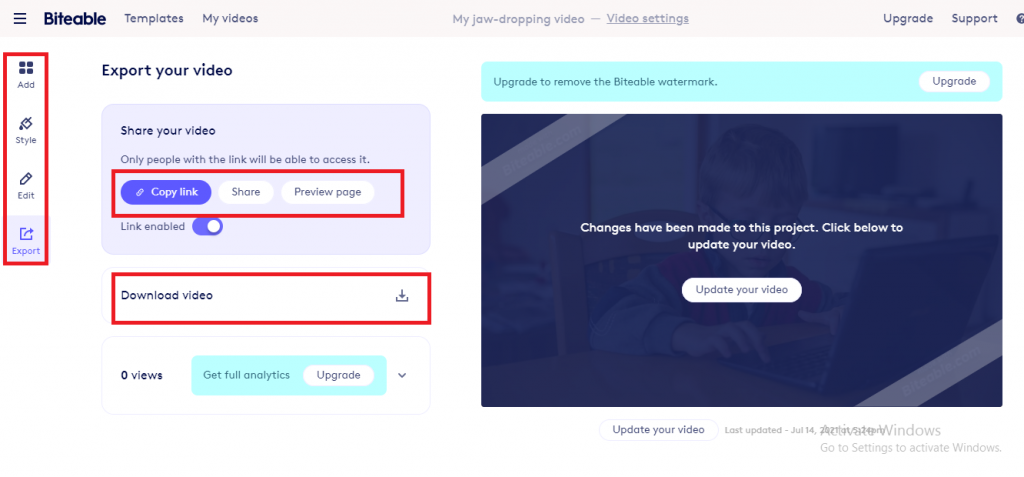 Let's further break that down, so to start with the Copy Link which enables you to share a link with someone who has an account with Biteable allowing them access to your video. Furthermore, with the Share option, you can share the video on Facebook, Youtube, Twitter, or Linkedin. By clicking on the Preview option you can preview the video before sharing it with someone or posting on social media channels.
If you wish to download the video, click on the Download Video option and you can download the video to your local drive. It’s as simple as that!
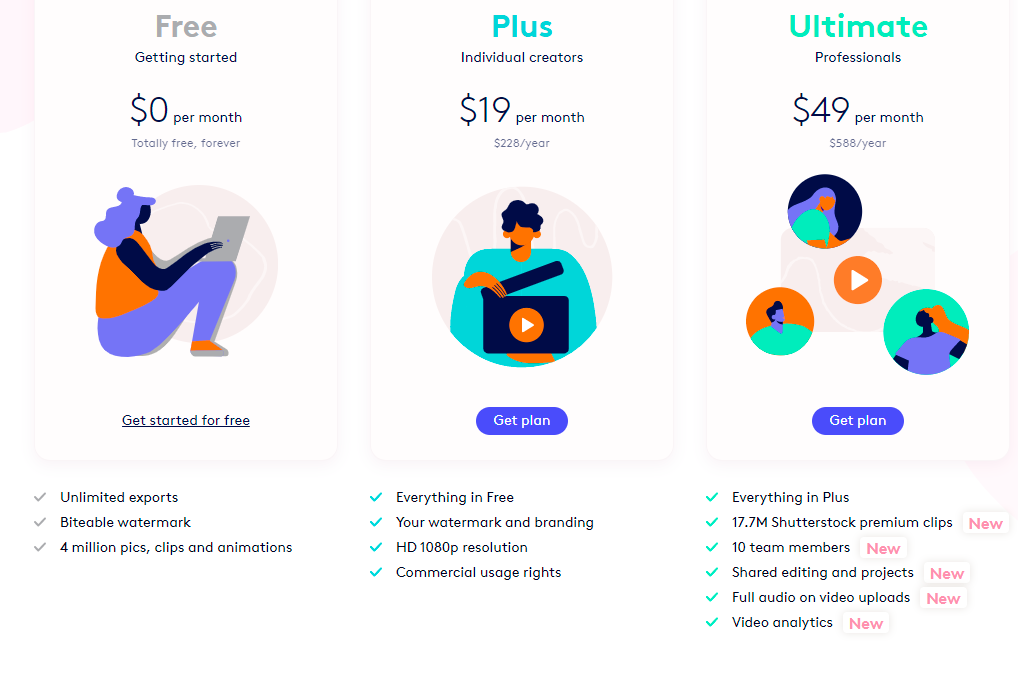
Now Biteable offers users extra features which are based on the payment plan that you choose. Here are some payment options that will help you upgrade and use Biteable to its maximum ability and to create wonderful videos.