Picmaker gives you the freedom to create, edit and download awesome designs. All without any design knowledge. This is a perfect tool to create effective advertising, commercials, and campaigns in minutes!
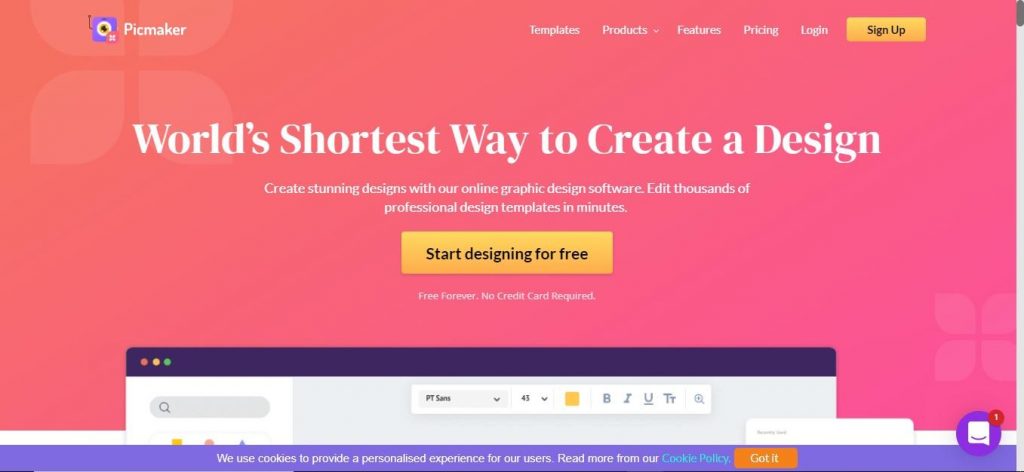
So let's start by going to www.picmaker.com, and click on signup-free .
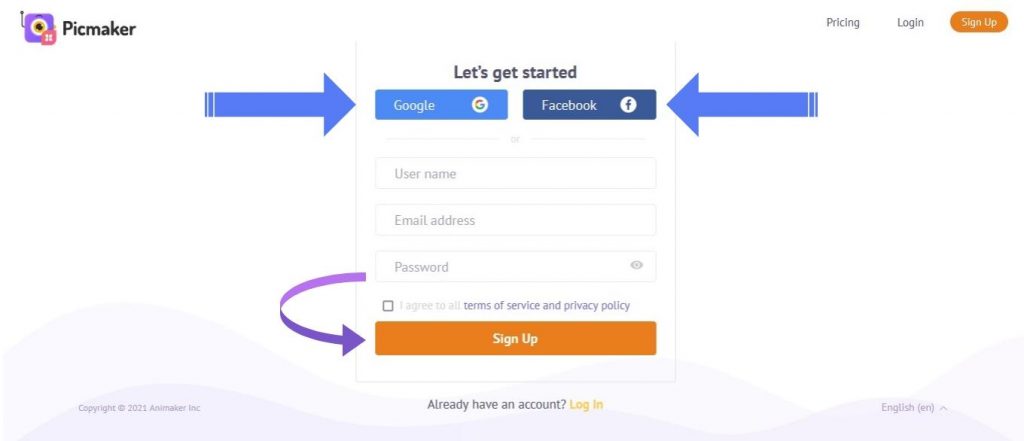
You are then directed to the signup page where you can either sign up with your name, email id, and password or via your Google or Facebook account.
A dashboard appears where you can find a menu tab with options & templates.
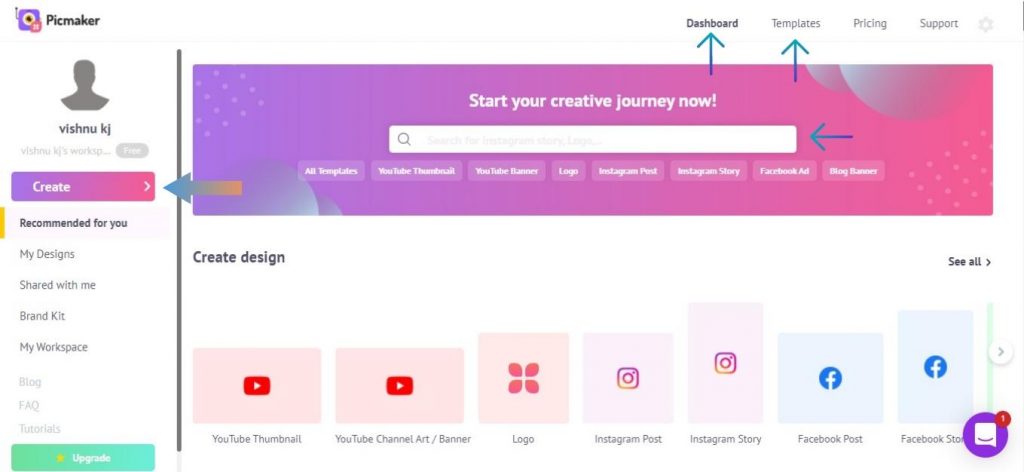
Let's first explore the Templates tab. When you scroll you will find many different templates at your disposal for making youtube thumbnails, youtube banners, Logo, Blog Banner, etc. You can also use the search option on the page to choose a template that is best suited for your project.
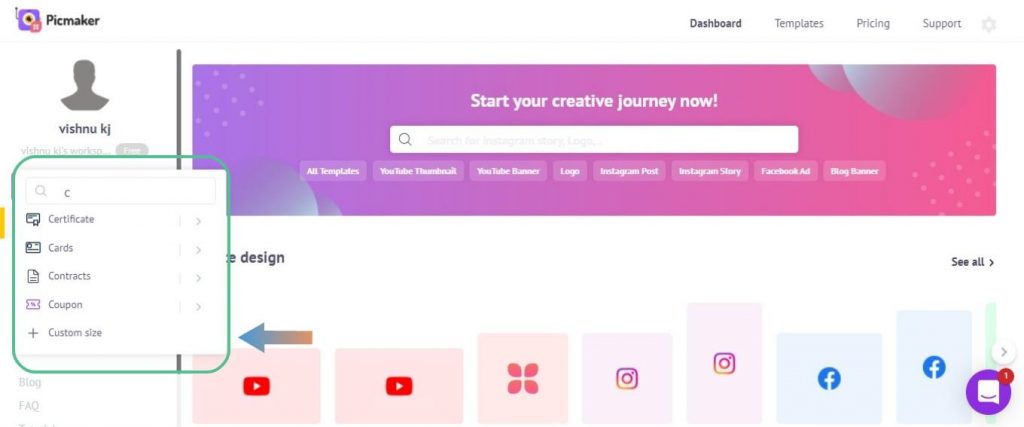
After we click create, a drop-down list appears. Where we have the option to search for what we want to create. I have opted to go with creating a custom size option.
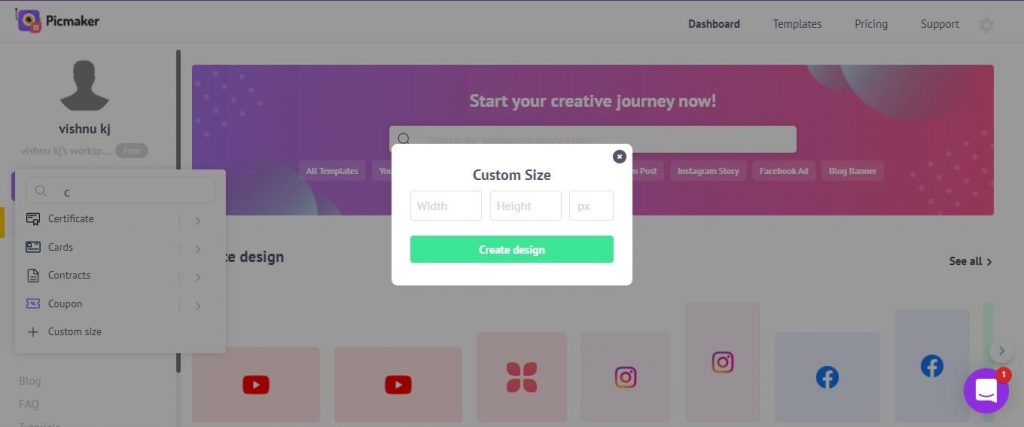
After that, we will get an option to enter the Height and Width for the custom design file we want to create and then click on create design.
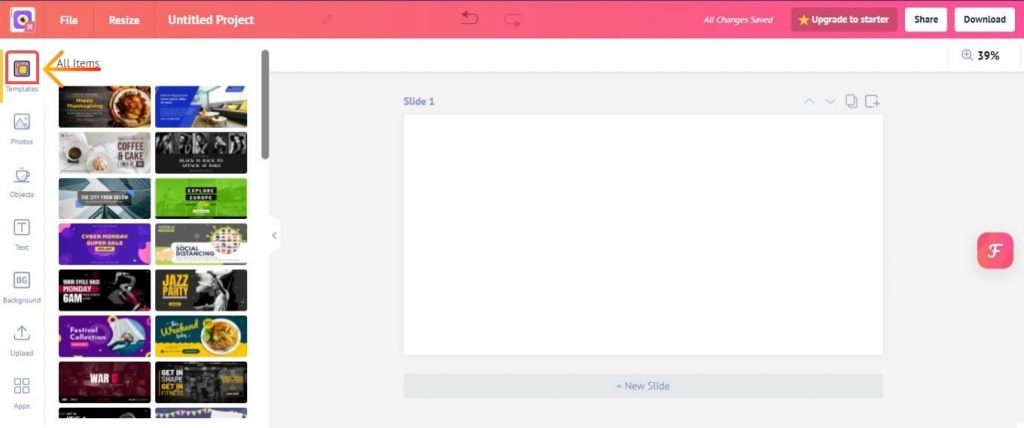
Now a file will be created for us to design, Here on the left side panel, we get so many Tools to create a design.
Now it's time to explore the tools to make our image more attractive!
TEMPLATES TAB: Suppose if we already choose a template & created a design & now if we want to change the template we can go to the Template tab, and pick the template from the template collection. You can see soo many creative templates here.
Let's add an Image now for that we have to click on the photo tab on the left side panel. Millions of stock photos that will be needed for creating our design will be in this tab. You can see a diamond symbol on the top right part of the image- Which means that they are premium images. If we upgrade to starter we will get 20 premium images per month. For finding the images fast we can also use the search bar on top also there is an option to filter the image too.
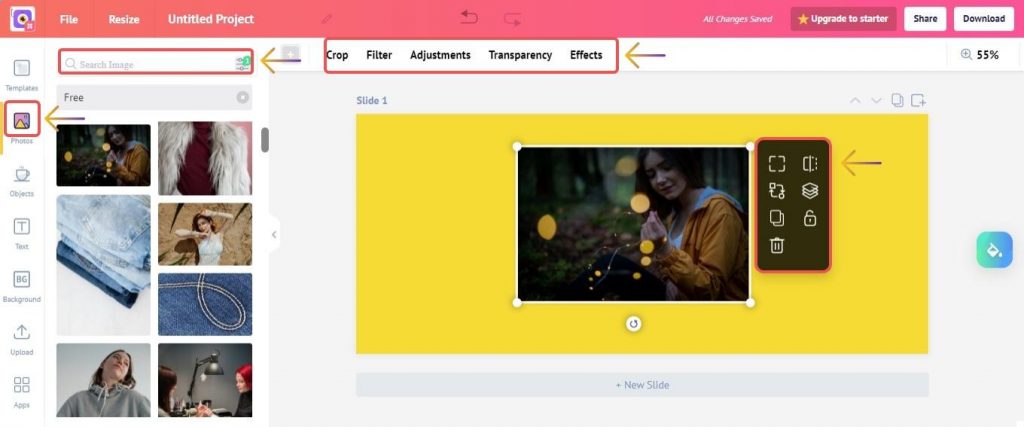
Let’s say if you like an image click on the image and it will be added to our design page. Here we can use this image to set as background/remove background.
Flip the image and if you want another image you have the option to replace the image. In the arrangement option, you can align positions where you want to place the image, and also you can duplicate, lock or delete the image here. On the top panel, there are some more tools:
Crop tool - if you want to crop an image that you added to the canvas you can use this tool.
Filter tool - Using this tool we can add special effects to the images such as solar, selfie, Cali, and much more
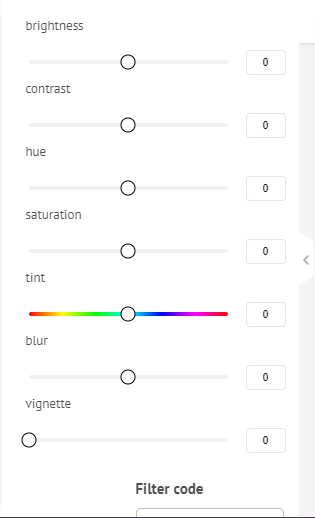
Adjustments tool - we can use the adjustment tool to change the level of brightness, contrast, hue, saturation, tint, blur, and vignette.
Transparency tool - It can be used to adjust the transparency of anything in the canvas.
Effects - There are effects such as remove image background, Stickerify, Double exposure, Duotone, and Drop shadow.
Remove image background: allow the user to remove image background.
Stickerify: Using stickerify you can add an outline to an image. It’s a premium feature.
Double exposure: Double exposure tool that layers two different exposures on a single image.
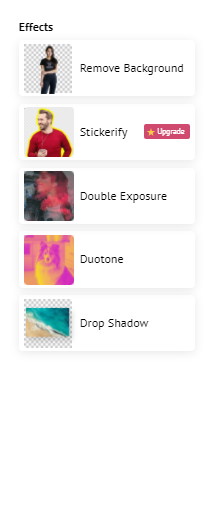 Drop shadow: this tool will allow us to adjust the angle, distance, opacity, and blur of an image.
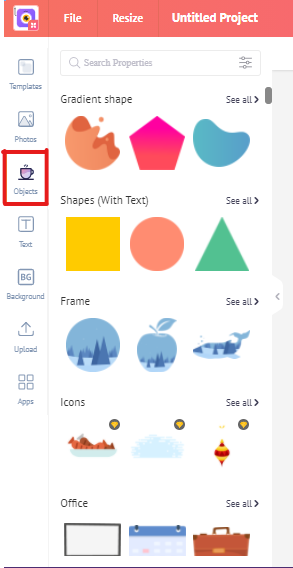
In the object tab, you have the option to add gradient shapes, shapes with text, frames, icons, etc. here. By scrolling down we can see a lot of categories and more than 100’s of icons to choose from. You can select by clicking on them.
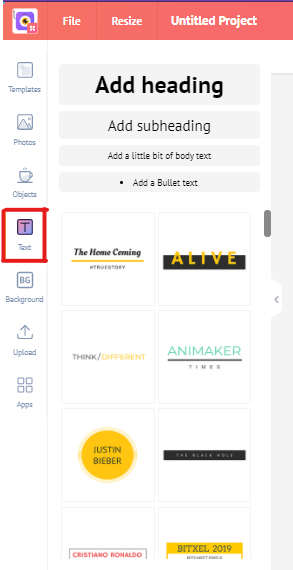
Now let’s add a text. Picmaker gives you the option to add from a wide variety of premade text designs or you can create one from scratch. You can change the font, size, color of font, transparency, and also there you will get an option to change the text effects such as Neon, Shadow, Hollow, etc.
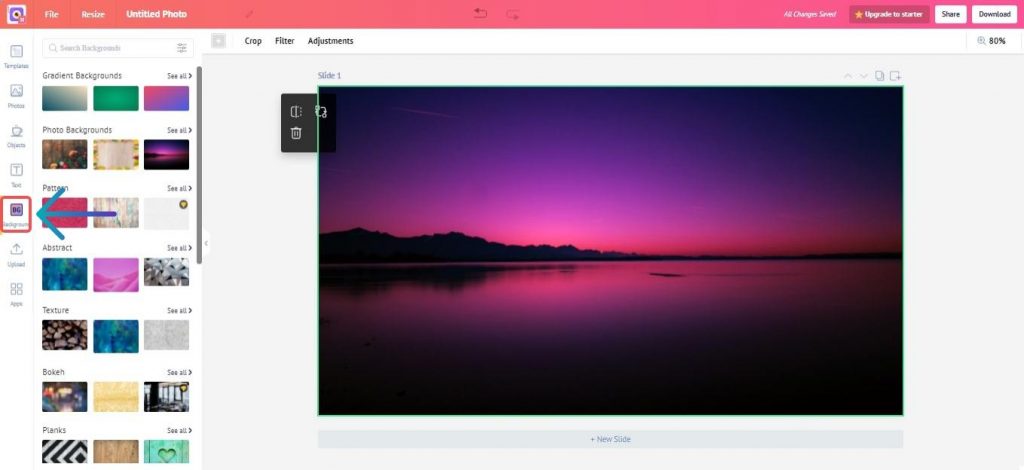
You can find a huge collection of backgrounds in picmaker and some of the most popular background categories are also here. If you like a background the only thing you have to do is to click on it and it will be copied to the canvas.
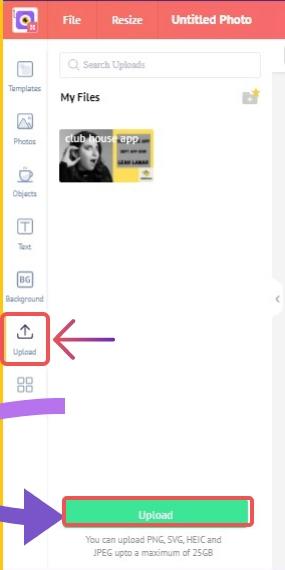
Here you can upload your own designs to picmaker. The only thing you want to do is click on upload and select the image from your computer and it will upload to picmaker after that select the image so that it will be copied to the canvas.
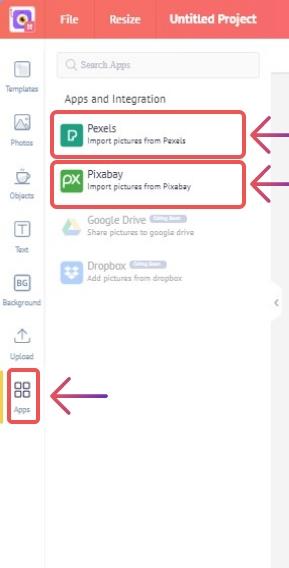
In-app integration, picmaker gives us the option to integrate with pixels and pixabay. It will enable us to transfer images to picmaker from our accounts. Dropbox and google drive integration will be coming soon to picmaker.
The final step is to download your design for that click on the download button on the top right and you will get an option to download the image, present the image and share it on social media. If you want to download the image you can download it in JPG,PDF or PNG formats.